Installation & Maintenance Instructions
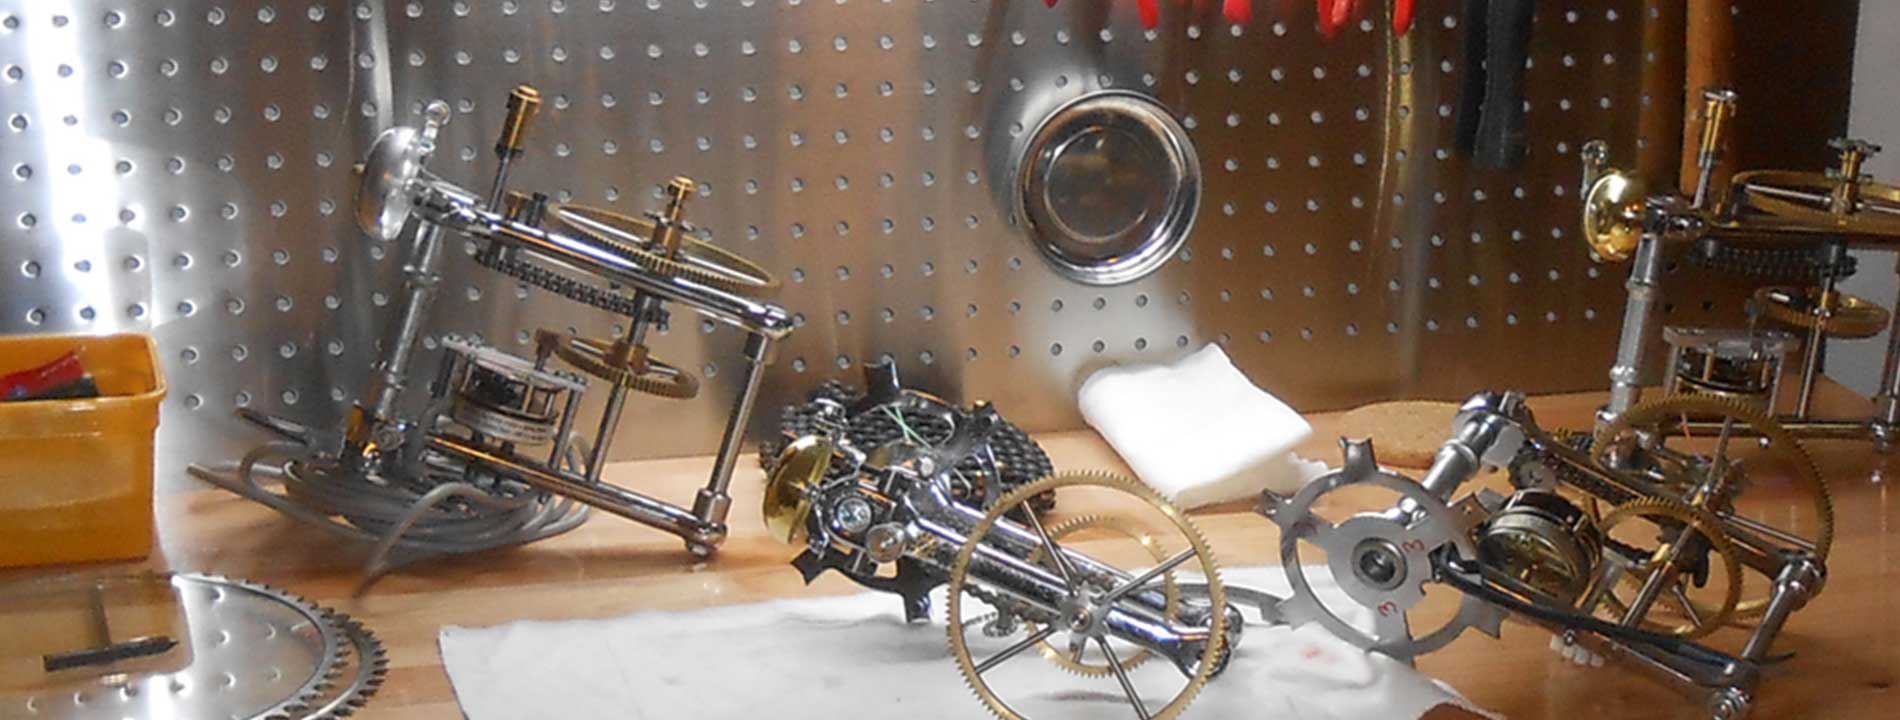
Thank you for acquiring your new work of art, the unique TimeMachine which is handmade in very limited numbers in the USA. The concept is based on the design, made in the nineties, by the Dutch artist Maarten Kraanen.
The Timemachine clock consists of 5 main components: The assembled clock mechanism, 2 chains and 2 dials. The installation time will be, depending on your "Do It Yourself" skills and preparation, between 20 and 40 minutes. Required tools are a screw driver (only for fastening the wall screw for hanging the clock), a drill with a ¼ inch drill bit and a small level.
Unpacking
Remove and unwrap the clock carefully. Then unwrap the 2 chains. Leave the 2 dials (large bicycle sprockets with glass insert) wrapped till you need them.
Hanging the clock and …Some Tips.
The mechanism hangs from the large hole drilled in the middle of the top of the wall plate. The first thing to decide is at what height you would like to hang the clock. This is for a big part based on the location of the clock and… your taste. The height of the fully installed clock is 48 inches and we suggest that the hole, that has to be drilled in the wall, should be at least around 6 feet from the floor. However, especially if you have small children and pets, we advise to hang the clock a bit higher. We have seen dials with broken glass caused by kids and pets. It’s just a round piece of thin glass and it can be repaired easily but better safe than sorry.
The clock needs power and in most cases the most elegant way is to let your electrician install an outlet wall box in the wall just under the drilled hole and behind the clock mechanism. We suggest using a round flat metal cover for this power box which can be painted in the color of the wall. In the top part of the cover a ¼ inch hole should be drilled for routing the white clock electric wire into the outlet box.
OK here we go:
- Drill a hole in the wall or, in case it’s drywall, use a self-drilling drywall anchor and the right size strong screw (max 1/8 of an inch) . The clock weighs about 10 pounds, not really heavy, but it could be severely damaged if would drop down.
- Hang the TimeMachine mechanism to test it and also to mark where the ¼ inch hole should be drilled in the outlet box cover. Try to route the wire as directly as possible into the outlet box. Hiding the wire improves the surprise factor of your TimeMachine!
- Now let you electrician connect the three wires, blue and orange for power and green for ground.
- Screw the cover plate to the outlet box and hang the clock on the screw you installed in the wall. Now you have to hang the clock straight.
- On the bottom of the back plate you will see, left and right, 2 black screws. These screws can be turned by hand and are there to make sure that the clock is hanging plum and level. A small level is a helpful tool. Important, if the clock is not hanging plum and level, the dials (while the clock is running), could fall out of the chains.
- Hang the regular chain (not the one with the 6 brass pieces) over the first small front sprocket, the one closest to the wall). Push the aluminum S arm (which triggers the bicycle bell) carefully to the left allowing easier access.
- Now hang the second chain on the front sprocket and make sure that the six larger domed sized brass pins are in between the 2 chains. Important! One of the 3 brass pins that stick out of the front of the chain should be at 12 o’clock, so really in the top position of the small sprocket. Hint: If the chain is not unrolled carefully, a “knot” can be the result. In that case lay the chain flat on a table and carefully move the chain around to get it flat again. Do this gently, never use any force!
- Hang the dial with the short hand ( which is glued on the glass) on the chain closed to the wall. Be sure the hand is at the 12 o’clock position .Repeat this with the dial plate with the large hand and hang it in the front chain. Again both hands should now be at 12 O’clock.
Setting the Time
The clock installation is complete and it shows that it is now 12 o’clock… but most probably it’s not! The last thing that has to be done is setting the right time!
Locate the large black adjusting bolt on the smaller brass gear (cog-wheel), which is just in front of the small electric motor. Turn this bolt by hand a few turns anti-clockwise (NEVER use pliers!). By doing this you disconnect the clock mechanism from the electric motor. Now very slowly pull down on the right side of the front chain till you have reached the actual time. You will see that the back chain will turn automatically. Once you reached the right time, turn the black bolt on cog-wheel by hand clockwise as tight as you can. Hold the clock with your other hand firmly while doing this.
Disengaging or Adjusting the Bicycle Bell
As you will notice the bell rings with a very modest ring and maybe at certain times you don’t want it to ring at all. In that case you can easily disengage it by lifting the small chrome chain from the bell handle. If you wish to engage the bell again, just slide the little chain in the bell handle again but make sure that you do this on the same spot of the chain (count the the little balls on the right of the bell handle!) otherwise there is a possibility that the bell won’t ring. It’s easy to test this by carefully moving the bottom of the aluminum S arm to the right.
Cleaning and Maintenance
The clock needs no maintenance and should never be oiled or greased. If the clock and chain would become dusty just use compressed air in a can (see your hardware store) or a soft brush. After lifting them from the chains, the glass dial plates should be cleaned by using a regular window cleaner and a paper towel. Because some of the clock parts are made of non-finished metal parts, it could corrode. It is therefore recommended to never expose the clock to high humidity for extended periods of time. In general a normal ventilated or air-conditioned house or office will not cause any corrosion. A cabin in the woods or on the water front might present a problem for the TimeMachine.
Service & Support
The TimeMachine has a 12 month limited warranty. Broken glass dials are excluded but can be repaired for you. Shipping costs will be charged if the clock or any other parts has to be returned for repair. For service and support contact the manufacturer: Holland Art House at support@HollandArtHouse.com or at 610-644-6555. Always contact us in advance for shipping instructions.